Now that I sold my MacBook Pro I wanted to make my iMac my main machine. So I moved all the data from the laptop to the desktop and–boom–that’s it. Because I was using the other laptop a lot lately, I got adjusted to the speed of that built-in SSD and the iMac started to feel rather slow. Luckily, my iMac is the mid 2010 model, which was the first one that came with an extra slot for an extra HDD or SSD, IIRC.
So all I needed was the SSD, I thought. I was a little bit skeptical that any SSD would fit in there. I remember that there was a MacBook that did not fit default HDDs, only the slightly slimmer ones. After a while of googling I found this article which confirmed that the iMac would fit any 2.5" SSD. Yay. But it also points out, that, if the Mac did not come with an SSD you would need to get an extra “Y-cable that goes from 1 SATA male power connector to 2 SATA female power connectors”. Those are easy to find on Amazon, so don’t forget to get one of those, too. I got the NLINE SATA, which was first one that Amazon presented for like 2€ (amazon.de; affiliate link). What this article does not point out is that you’ll need an extra SATA cable as well. While being on Amazon I found the Samsung MZ-7PC128B/WW 128GB SSD (amazon.de, amazon.com; affiliate links) on sale for 99€ which seemed to be a pretty good deal, so I ordered it.
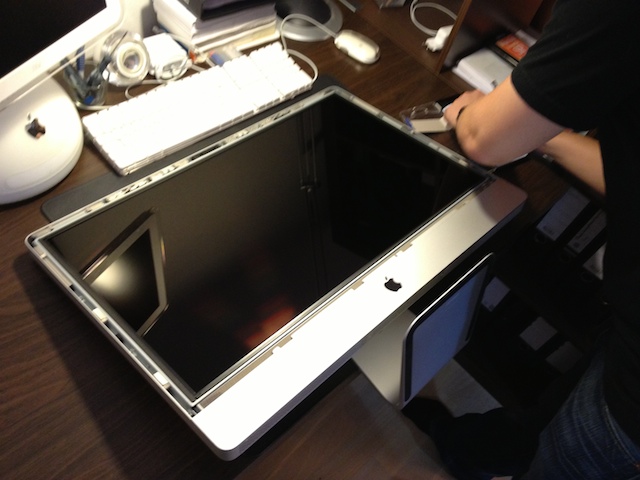
Once all these parts arrived I called my colleague Daniel to help me with this since I knew he had disassembled his iMac before the fun part began: Removing the iMac’s glass panel, the monitor itself, several internal parts like the HDD and the SuperDrive. The term “extra slot for SSD” turned out to be rather funny since there’s actually not a slot as I imagined it. All we found was a mount that would hold another cage which itself would hold the SSD. So the only option we had was to tape the little box to the back of the Mac. I was a little skeptical again, but I was told that that’s no problem at all. Well, …, then, tape it is.
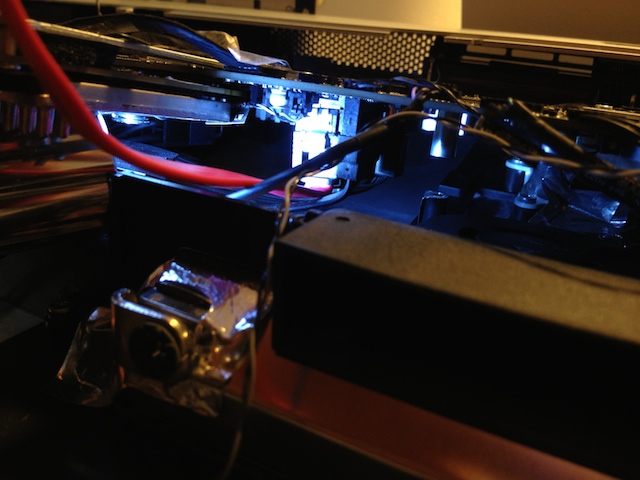
Now that we had figured out where to put the drive itself there was the next challenge: Where the heck do the cables go? After unscrewing all the main board’s screws, pulling and lifting it gently we found the SATA connectors directly underneath the board. Plugging the cable in does require some patience. There is not a lot of room if you’re as lazy as we’re and if you don’t want to rip the whole board out.
Once all the cables were connected and the SSD was tightly taped to the back we began to add all the removed parts, screws and cables and finally mounted the glass panel back to the computer.
Turning the computer on again proved it worked. Phew!
You can find a lot more pictures about the process of disassembling the iMac in this post. And if you break something, don’t worry, there’s a shop selling a lot of the used components.